New 3ds USB-C Mod
Modifying a New Nintendo 3ds to Charge over USB-C
Here is how I modded my New Nintendo 3ds (2015, non-xl) to charge over USB-C. The mod is made possible by a small PCB manufactured by Adifruit.
This was the breakout board I used for this project. The PCB needed to be small, and even this small board needed to be modified further.
Here is the Modified PCB. All material under the pad left of the “JRC” text has been removed, making the PCB about a centimetre shorter overall. Additionally, a 4042 5.1k resistor has been added to “R1”. This step is not strictly necessary; however, without that resistor the 3ds will not charge from a downstream USB-C port.
Here is the location of the PCB inside the case. I soldered two 30 AWG wires to the PCB. A small amount of disassembly is required to free the pictured portion of the bottom shell. I made a USB-C sized hole in the case by drilling a small hole where the port will be, then widening the hole with a circular file. This entire process took about 20 minutes, filing conservatively and checking test fitting the port often. After the hole is made, the entire PCB can slide in from the outside. Finally, I adhered the PCB in place using a CA glue.
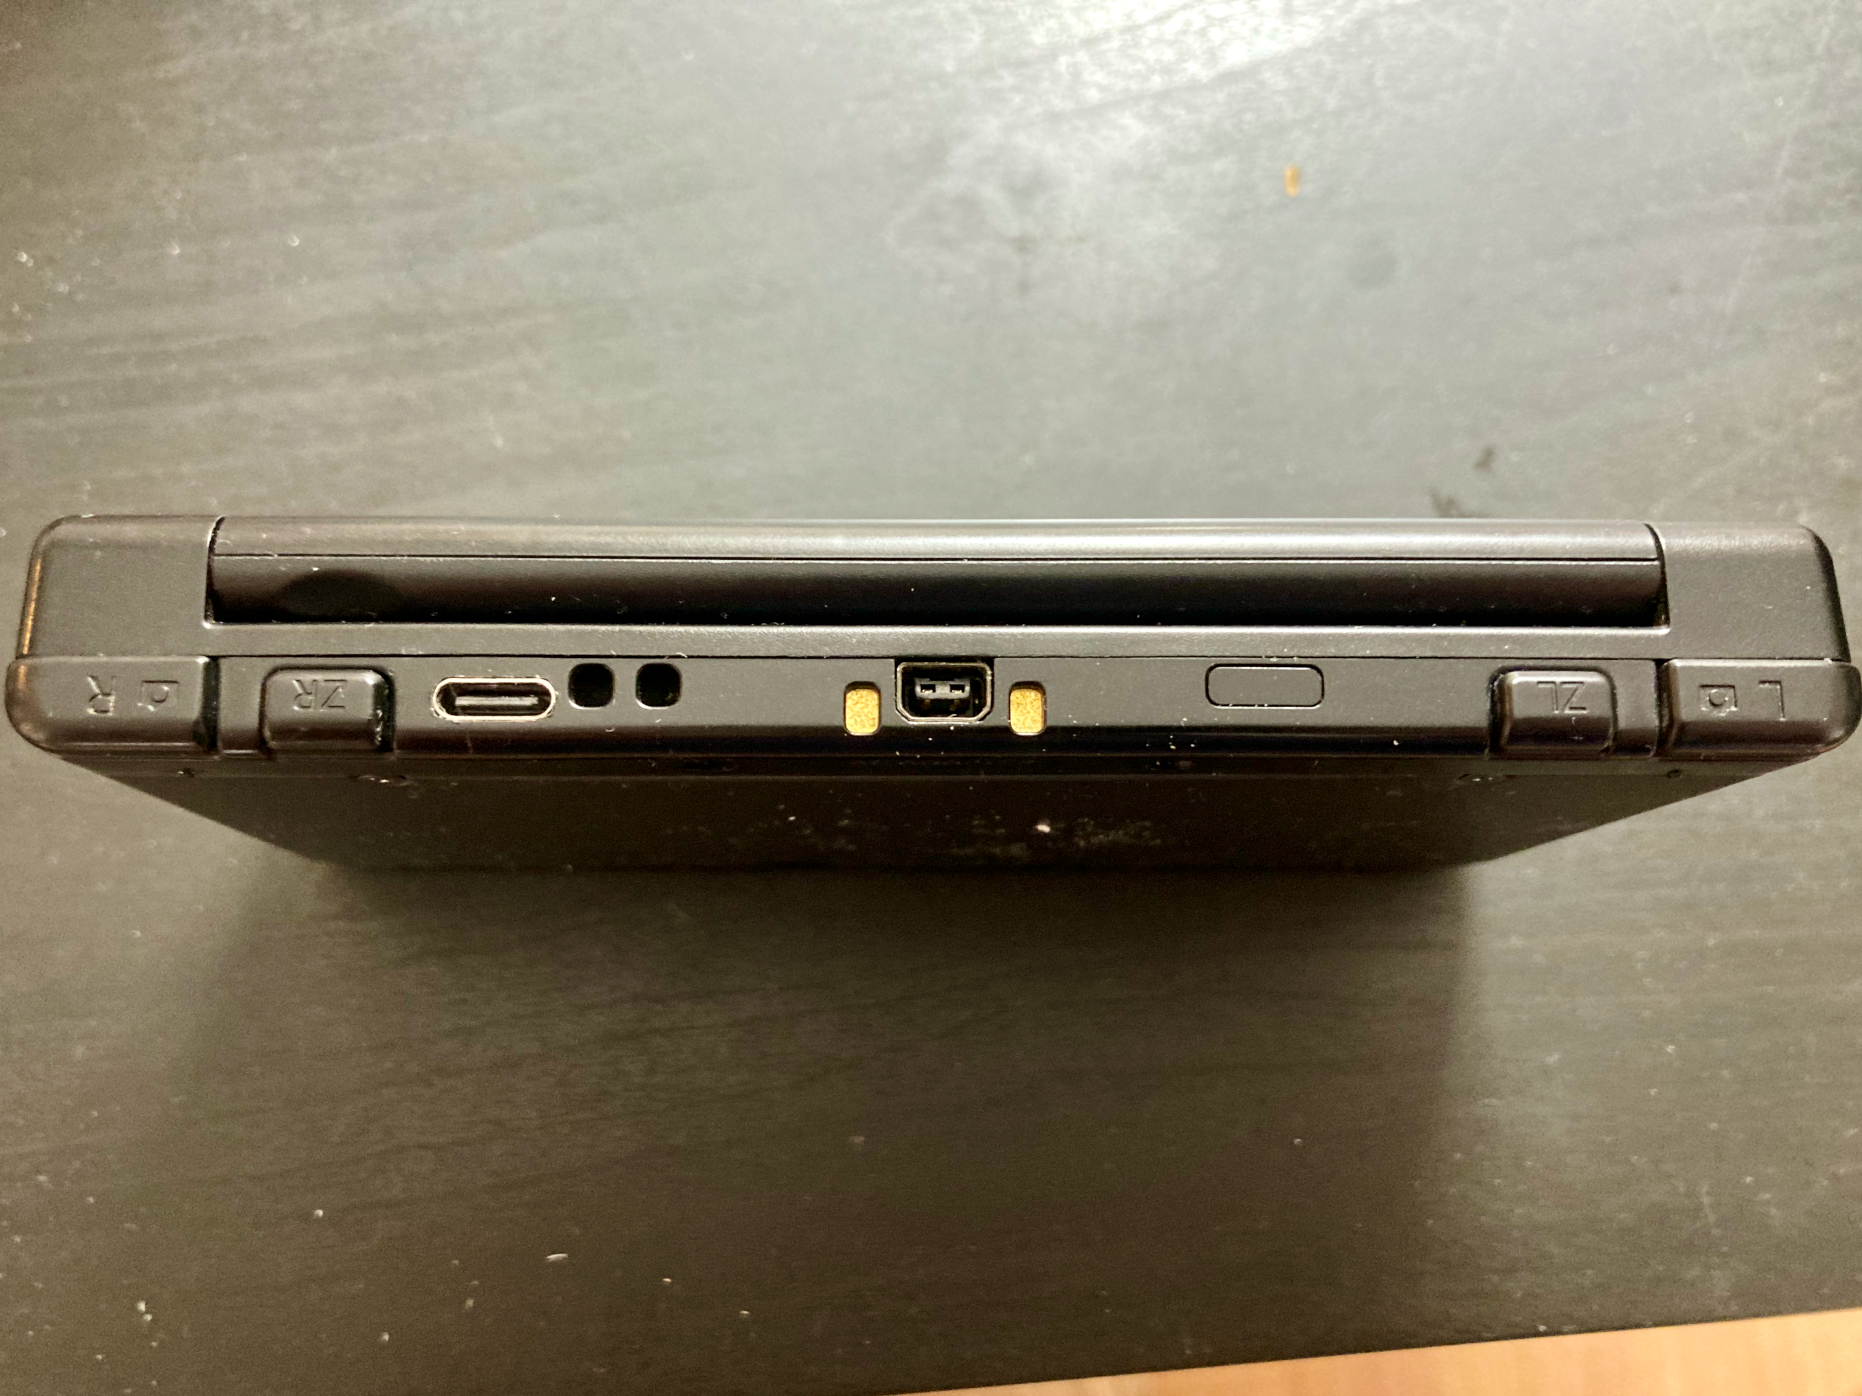
Connecting the PCB to the motherboard is pretty easy. Removal of the motherboard is not necessary, an in fact I’d recommend against it; removing the motherboard puts strain on the LCD ribbon cables that can be exceedingly delicate especially if the console was used heavily. I recommend soldering the cables to the highlighted regions.
Gallery


