Rackmount NTP Clock
Building a half-rack clock for my entertainment console.
I’ve been using a repurposed (5-3)x5 IKEA Kallax as an entertainment console for some time now. It’s a great unit — sleek, modular, and most importantly cheap. One benefit to these Kallaxes is their ability to fit a half-rack. Though half-racks are not common in North America, with a 3d printer, and McBig’s excellent repository of 3d models, I've been able to almost entirely fabricate a 7u half rack for my kallax.
The rack is meant to tidy up the networking and power that goes to the rest of the items in the entertainment system. I was also able to rack the Apple TV, letting it live closer to the ethernet switch its plugged into. However, my entertainment console was missing a clock. None of the devices in the console had one, and watching TV with a cable box growing up has accustomed me to looking below the TV whenever I wanted to know the time.
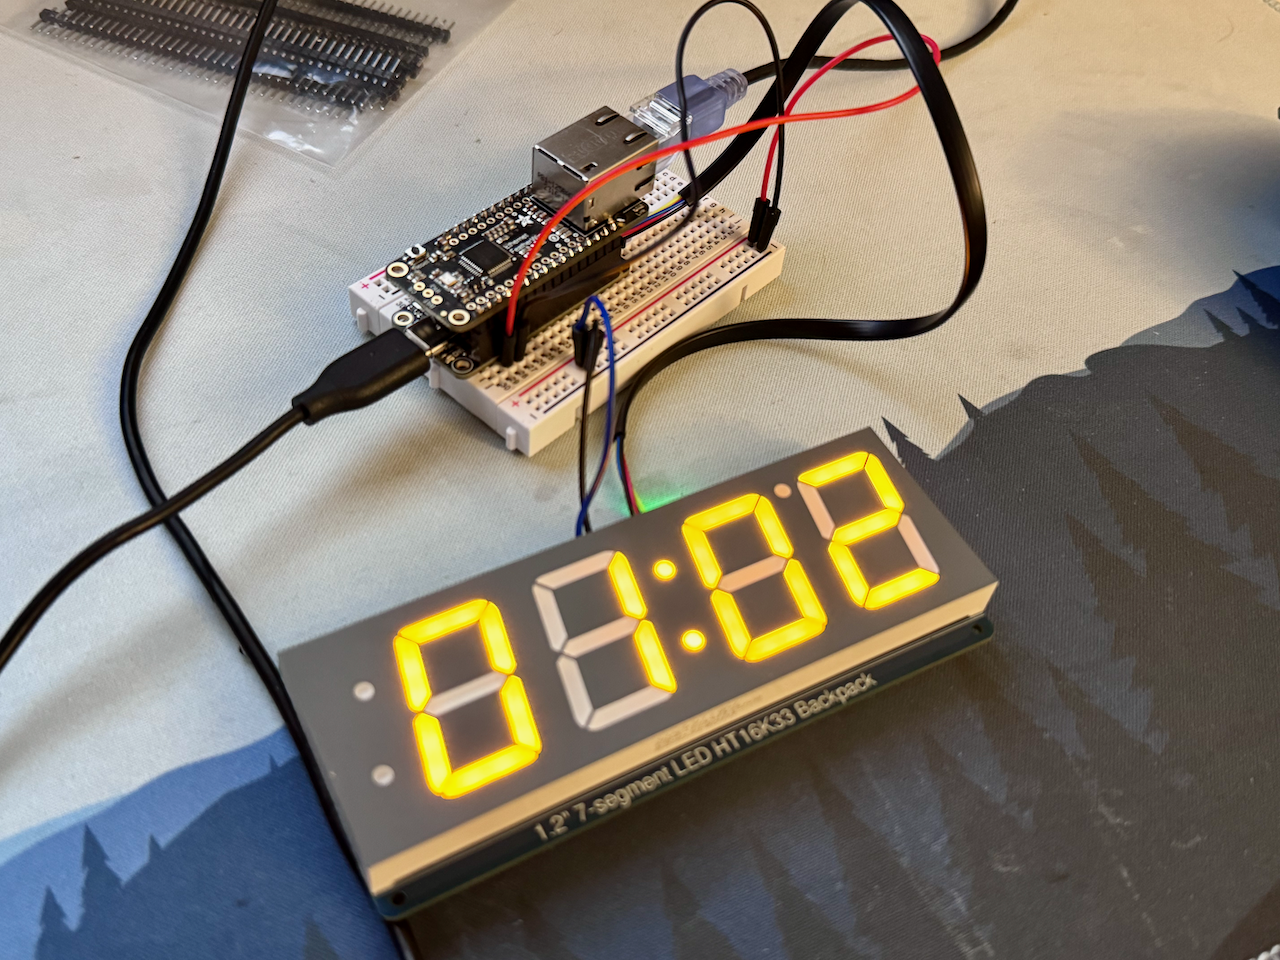
And with that problem, I setup to add a clock to the rack under the TV. I debated how I wanted to go about getting the time, but given there is a network switch 3 inches away, I decided it would be best to build something that could get the time over ethernet. After looking over various microcontrollers, I decided to give the rp2040 a go. I had never used this microcontroller, and it has more functionality than I needed. I decided to use Adafruit's feather rp2040 in particular, as it has a side-firing i2c connector, as well as compatibility with their line of feather hats. Speaking of which their ethernet featherwing is responsible for connecting the rp2040 to my ethernet switch. Finally, Adafruit's seven-segment display is the clockface for the project.
Connecting the devices together was extremely easy, the only hiccough was me not realizing the 7seg display needed additional power from the main board, which was obvious in retrospect.
Programming the project was extremely easy thanks to Adafruit's excellent documentation and sample code; putting the project together was as simple as combining their sevenseg example project, and Arduino's Ethernet Shield NTP client. I added a few additional features as well, including adding a variable that accounts for time-zone, a way for the middle colon to blink every second, and a fallback that lets the clock keep time should it lose its internet connection.
I designed a panel in FreeCAD to house the project. I have been meaning to learn CAD software for awhile, and this is the most complex thing I've made yet. Four or so test prints later all of the components friction fit into the piece, and the resulting panel is quite sturdy.
The last thing to do was to specify a time server. By default the NTP code yells at Colorado every 10 seconds, but I decided I wanted a local time server instead. MacOS unfortunately dropped support for its NTP server awhile ago, so I instead installed an NTP server on my raspberry pi.
Overall I'm extremely happy with the end result. The LEDs in the clock were described as yellow, but are almost an amber in real life, reminding my of those older vacuum-florescent displays. All of the parts and code are available on my GitHub.Gallery


